WhatsAppCall

24/7 Emergency Plumbing • Plumbing, geysers & solar geyser solutions

washing machine connection

Washing Machine Connection with Safe Pipe Length, Standpipe Drainage and Flood Prevention

A washing machine connection should protect the appliance, cupboards, floors and drainage system from leaks, siphoning, backflow smells, over-long pipe routes, hose bursts and vibration damage.

Plumb A Nator connects washing machines with attention to the inlet valve, isolation control, practical pipe length, hose route, standpipe or trap spigot, drainage air break, transit bolts, vibration risk and fill-and-drain testing. The goal is a neat connection that works safely in South African kitchens, sculleries, laundries and apartments.

Washing Machine Connection plumbing service image for Plumb A Nator.
Washing Machine Connection service image for Plumb A Nator.
Washing Machine Connection help line067 139 9980Tell us the property area, visible symptoms, nearby valves and what changed before the problem started.
Request Washing Machine Connection
Washing machine connectionLaundry inlet valveWashing machine waste hoseStandpipe connection
Washing machine connectionLaundry inlet valveWashing machine waste hoseStandpipe connectionTrap spigot setup

washing machine connection diagnosis

Washing Machine Connection starts with the correct water feed, drain height and isolation control.

A reliable washing machine connection depends on three basics: a secure water feed, a safe drainage route and enough protection against flooding. The setup is checked for valve condition, hose strain, standpipe height, air-break drainage, trap spigot suitability, machine levelling and whether the appliance can be isolated quickly in an emergency.

Quick details that help before arrival

Helpful appliance details include photos of the water tap, waste spigot, standpipe, hose route, appliance space and any leaks during fill or drain cycles. If the issue is part of a wider appliance setup, see our appliance plumbing connections page; if the sink or scullery waste is affected, our kitchen plumbing page may also help.

High-loop hose routing, standpipe height and pipe length matter because a washing machine can siphon, smell or push water back through the sink waste when the discharge route is too low, too long, sealed airtight, loose or restricted. For similar appliance drainage issues, compare our dishwasher connection guidance.

Technical connection checks

Professional washing machine connection checks for SANS-aware water supply, drainage and flood prevention.

Small appliance connections can cause major water damage when the water feed, isolation valve, standpipe or waste route is rushed. This section explains the fixed plumbing checks behind a reliable washing machine connection, including water supply, drainage, pipe length, hose routing, isolation control, air-break protection, flood prevention and commissioning tests. The goal is not only to make the machine run on the day of installation, but to reduce call-backs caused by siphoning, gurgling sinks, loose hose clamps, vibration movement, pressure surges, blocked trap spigots and hidden leaks behind cupboards. A good connection also makes the appliance easier to isolate, service and replace later, which is important in apartments, rental units, sculleries and tight kitchen cupboards where one small hose failure can affect flooring, cabinetry and neighbouring rooms.

SANS 10252-1, SANS 10252-2 and fixed-point compliance

New or altered washing machine water points are planned with SANS 10252-1 water-supply principles in mind, while drainage routes are checked against SANS 10252-2 drainage-installation principles. That means the fixed pipework, isolation control, waste route and access points are considered as a small plumbing system, not just a loose appliance hose. Pipe size, route length, support, trap connection, backflow risk and maintenance access all affect whether the installation will remain trouble-free after the machine is pushed back. Where a new fixed water point or drainage point is installed to serve the machine, the fixed plumbing work should be completed by a suitably qualified plumber and certified where a plumbing CoC is required. The loose hose connection is then tested separately through fill and drain stages, because certifying fixed plumbing is not the same as certifying the appliance itself.

Standpipe height and siphoning control

Professional installations keep the washing machine drain entry within the appliance manufacturer’s permitted range. Many practical laundry and kitchen layouts work around 600 mm to 900 mm above the finished floor, while some manuals allow a wider 400 mm to 1000 mm range depending on the pump design. If the drain entry is too low, the machine can self-siphon: it fills and drains at the same time, which causes error codes, poor wash results, wasted water and possible pump strain. If the standpipe is too high, the appliance pump may struggle to lift the discharge, especially on long hose runs. The standpipe must also be secured so the hose cannot jump out during the high-volume drain cycle, and it must remain accessible for future inspection.

Air break and hose insertion depth

The drain hose should not create a sealed, airtight connection inside the standpipe. A visible air break allows air into the waste route and helps prevent vacuum-related siphoning, slow discharge and backflow smells. The hose should also not be pushed too far down the waste pipe, because deep insertion can place the hose end in standing water or create a restriction at the bend. Around 12 cm to 15 cm of insertion is a practical maximum on many setups, unless the appliance manual states otherwise. The hose must be clipped securely without crushing the pipe, flattening the outlet or sealing the pipe opening. This small detail often prevents repeated call-backs for smells, gurgling, drain errors and unexplained water loss during the wash cycle.

Individual quarter-turn isolation taps

A dedicated quarter-turn washing machine tap gives the homeowner fast shut-off control if a hose bursts, the solenoid valve fails, or the inlet connection starts leaking behind the appliance. Quarter-turn valves are easier to operate in an emergency than stiff older bib taps, especially inside tight cupboards. Where hot and cold feeds exist, each supply line should have its own accessible isolation control so the machine can be isolated without shutting down the whole property. The valve position also matters: it should be reachable after the appliance is installed, not hidden where the machine has to be dragged out during a leak. Clear isolation also helps rental properties, complexes and maintenance teams because the appliance can be made safe quickly without interrupting other fixtures.

Braided hose and surge protection

Reinforced braided stainless steel inlet hoses can reduce flood risk in higher-pressure or surge-prone areas, especially where municipal pressure fluctuates or returns suddenly after outages. They are not a substitute for a sound valve, correct washer, straight thread and safe route, but they are stronger than many basic rubber hoses under repeated pressure movement. The hose should have no twists, sharp bends, rubbing points or tight compression behind the appliance. If the property has unusually high static pressure, water hammer or repeat hose failures, the wider pressure-control system may need checking through the water pressure repair route before another appliance hose is fitted. The best result is a strong hose, a reliable isolation tap and enough clearance so the connection is not crushed when the machine is moved.

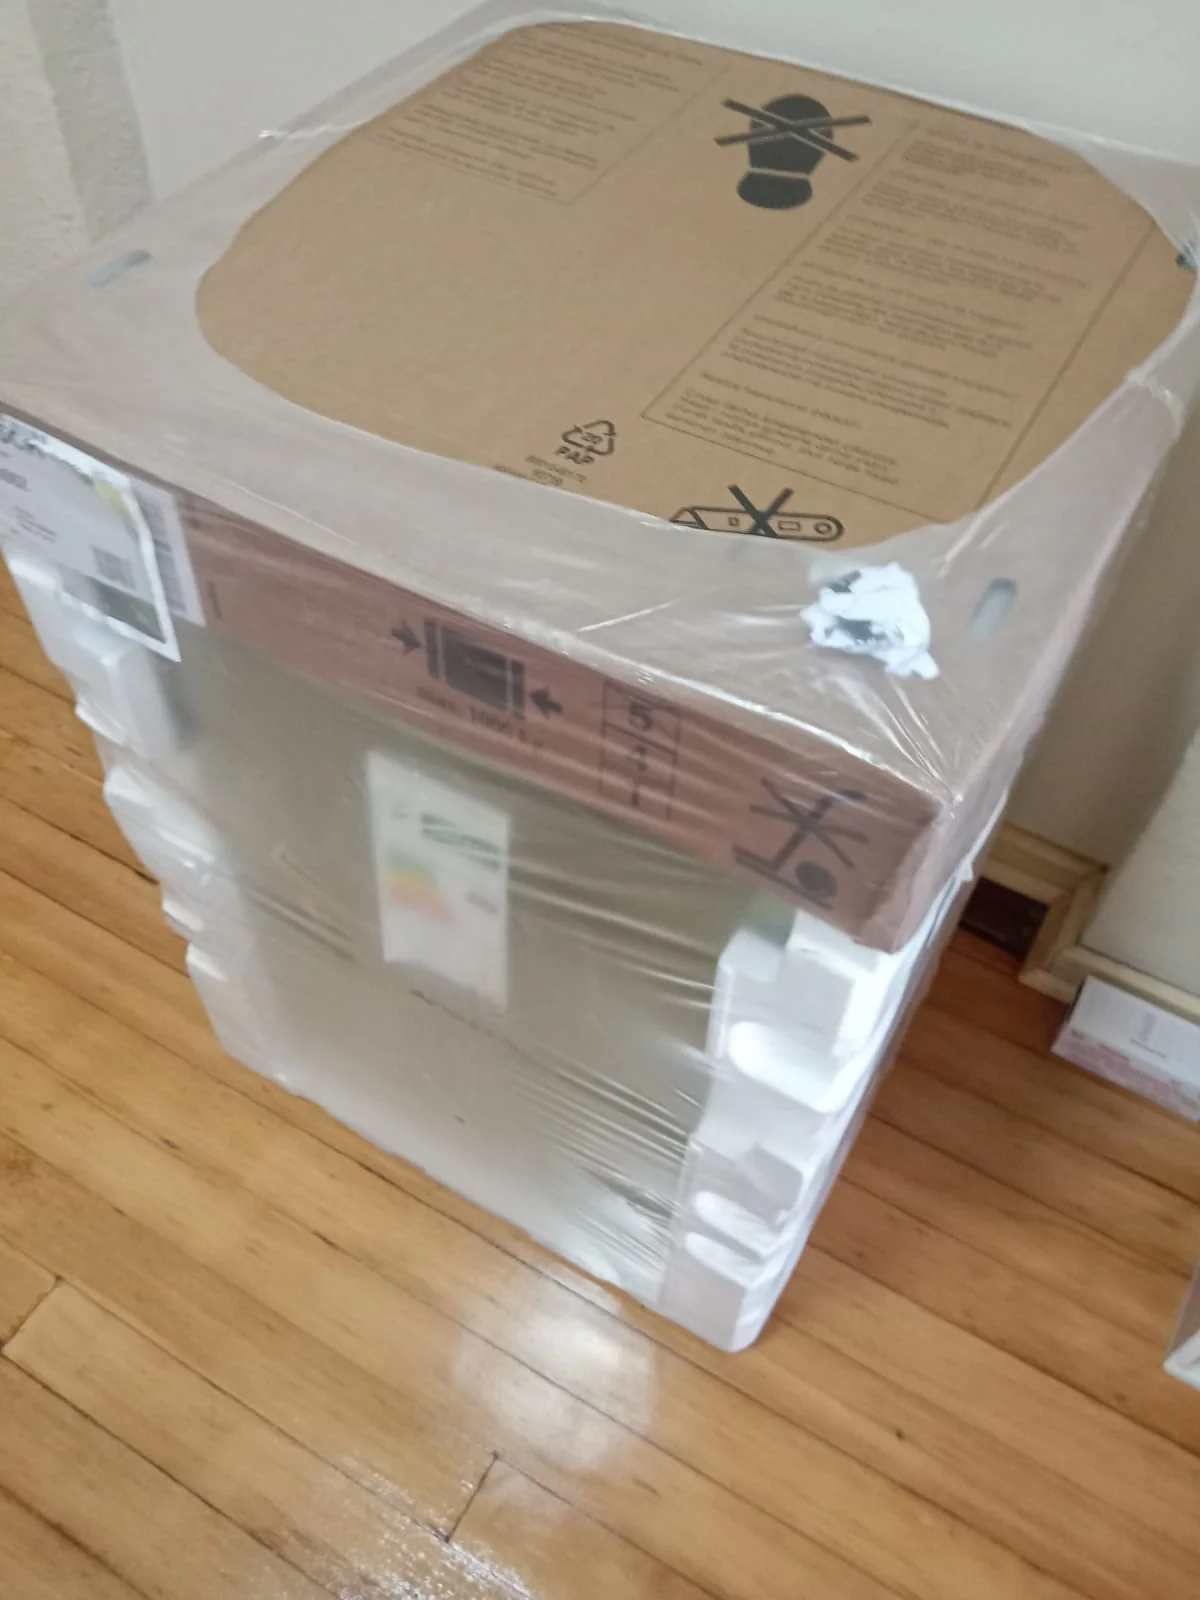
Transit bolts, levelling and surface stability

New washing machines usually ship with 3 to 5 transit bolts or shipping locks that must be removed before use. Leaving them in place can damage the drum suspension, create violent vibration and may affect the manufacturer’s warranty. The machine should stand on a firm, flat surface and be levelled before testing, because even a small tilt can make the appliance walk forward, pull on hoses or knock against cupboards. Levelling feet should be adjusted properly rather than packing the machine with loose cardboard or tiles. After levelling, a test spin helps confirm that vibration is not transferring into nearby plumbing joints. Surface stability is part of plumbing protection because repeated vibration can loosen hose nuts, crack old traps and strain pipe brackets over time.

Electrical safety and appliance position

The appliance should plug into a suitable grounded outlet and should not rely on an extension cord hidden behind the machine. Extension cords can overheat, loosen, or be damaged by vibration, water and appliance movement. The electrical point should be positioned so the plug is not crushed by the appliance and can still be reached for isolation when needed. Plumbing and electrical safety meet in the appliance space: a small leak behind the machine becomes more serious when water can reach plugs, adapters or multi-way connectors. The final position should leave enough clearance for hoses, the waste pipe and safe airflow behind the appliance. If the machine cannot sit back without crushing hoses or the plug, the fixed points may need to be repositioned rather than forced.

Pipe length, waste size and route planning

Pipe length and hose length are checked before the appliance is pushed into place. Long hose runs create strain, slow drainage and call-back risk, so the better approach is to bring the fixed water point and fixed waste point close enough for the manufacturer-approved inlet and drain hose length. Hoses should not be stretched across cupboards, hidden behind sharp cabinet edges or joined with weak temporary extensions. A single washing machine waste route is commonly planned around a 40 mm waste pipe, while shared kitchen or scullery appliance lines may need 50 mm waste capacity to reduce backups when the sink, dishwasher and washing machine discharge into the same route. The route should also allow a smooth fall, service access and enough space for clips so vibration does not pull the hose loose.

Gurgling waste, floor drains and test cycle

Gurgling from a nearby sink during the drain cycle can point to poor venting, a restricted trap or a waste route that cannot accept the appliance discharge. It should not be ignored, because the next symptom may be water backing up into the sink, overflowing from the standpipe or leaking inside the cupboard. Where available, a nearby floor waste or gully helps limit damage during a hose, valve or drain failure, but it must be correctly positioned and not treated as a substitute for proper hose routing. The final connection should be checked during fill, spin and drain stages before the machine is pushed fully back. This test confirms that the inlet valve holds, the hose stays secure, the trap does not overflow and vibration does not disturb the connection.

Before the team arrives

Keep the washing machine connection area visible and safe.

Do not hide the symptom before the visit. Keep the appliance reachable, leave hoses visible, avoid another cycle after a leak, and do not force the machine back if the hoses are under tension. The short preparation steps below help the plumber see the real fault instead of only seeing the cleaned-up result. A washing machine may leak only during fill, only during drain, only during the spin cycle or only after it has been pushed back into position. Those differences matter because they point to different causes: a leaking isolation tap, a loose trap spigot, a low standpipe, a restricted waste route, vibration movement or transit bolts that have not been removed. Keeping the area visible also protects cupboards and floors because the machine does not need to be dragged in and out repeatedly while water is still present.

Pause wash cycles

Stop using the machine if water leaks, the drain hose jumps, the valve cannot close, or the appliance vibrates heavily during spin. Running another cycle can make a small installation issue look like a larger appliance failure because water may track under cupboards, behind skirtings or beneath flooring before anyone sees the source. If the valve will not shut off cleanly, isolate the closest safe water control point and call for help. For safety, do not stand in water near plugs, extension cords or multi-way adapters behind the appliance.

Open the cupboard route

Clear the under-sink or laundry connection area so the inlet valve, waste spigot, standpipe and trap can be inspected without forcing tools around stored items. Washing machine faults often show up under the sink rather than behind the machine, especially where the appliance drains into a trap spigot or shared scullery waste. Remove cleaning products, bins and loose shelving from the cupboard before the visit. This lets the technician check whether the spigot plug has been removed, whether the hose clamp is tight, whether the trap is restricted and whether the waste pipe can carry the drain cycle.

Note the cycle stage

Record whether the leak happens while filling, spinning, draining or when the appliance is idle. A short video of the leak, vibration, gurgling sound or hose movement can help diagnosis before anything is moved. Fill-stage leaks often point to the inlet hose, washer, thread, valve or pressure surge. Drain-stage leaks usually point to the standpipe, trap spigot, hose insertion depth, waste restriction or backflow. Spin-stage vibration may point to transit bolts, poor levelling, weak flooring or hoses trapped behind the appliance. This timing information helps the plumber test the correct part of the system first.

Check transit bolts before use

Do not run a new washing machine until the 3 to 5 transit bolts or shipping brackets have been removed according to the appliance manual. Leaving them in can damage the drum, bearings and cabinet and may affect the warranty. Transit bolts are designed to protect the machine during transport, not during operation. If the machine bangs, walks forward, shakes cupboards or pulls on hoses during the first spin, stop the cycle and check the manual before continuing. Once the bolts are removed, the feet should be levelled on a firm surface so vibration does not stress the inlet hose, waste hose, trap spigot or nearby pipe joints.

Focused service

Washing Machine Connection separated by water feed, drainage, safety and appliance symptoms.

This section keeps the page focused on the practical parts of a washing machine connection: fill control, drain height, isolation, hose length, standpipe safety, backflow prevention and test cycles. It also separates appliance symptoms from plumbing faults. A leaking fill hose, a blocked trap spigot, a low standpipe, a gurgling sink and a machine that walks during spin all point to different repair routes, so the service page should help the customer describe the problem before the plumber arrives.

Water feed

Inlet valve and hose connection

The washing machine feed needs a reliable quarter-turn isolation tap, correct hose seating and no strain behind the appliance. If pressure is high or unstable, see our water pressure repairs page because a small weep can become hidden floor damage.

What to look for: Drips at the tap, stiff valve, kinked inlet hose, damp skirting or water behind the machine.
Helpful hint: Do not push the appliance hard against the inlet hose or valve; compression and vibration can loosen the joint.

Isolation

Quarter-turn washing machine taps

A quarter-turn isolation tap makes emergency shut-off faster if an inlet hose leaks or bursts. Individual isolation control is especially useful in apartments, sculleries and shared appliance cupboards.

What to look for: Old valves that do not close fully, stiff handles, shared temporary adapters or valves hidden behind the machine.
Helpful hint: A dedicated appliance tap is easier to isolate quickly than an old bib tap or a loose splitter.

Waste

Standpipe height and air-gap drainage

The standpipe must accept the discharge without siphoning or overflowing. A practical setup keeps the drain height within the appliance manual range, provides an air break, and avoids pushing the hose too far down the pipe.

What to look for: Water spilling during drain cycle, smells, slow discharge, hose popping out, or the machine filling and draining at the same time.
Helpful hint: If the hose entry is too low, airtight or too deep, the machine may fill and drain at the same time or show drain errors.

Kitchen

Under-sink appliance spigot connections

Some washing machines connect to a trap spigot under the sink. The spigot must be open, secure and routed to reduce backflow smells; related sink and scullery faults are covered under kitchen plumbing.

What to look for: Water under the sink during drain, blocked spigot, loose hose clamp or sink gurgling when the machine drains.
Helpful hint: The small spigot blanking plug must be removed when a new appliance is connected.

Flood prevention

Braided inlet hose upgrades

Braided stainless steel inlet hoses are often preferred in higher-risk or high-pressure areas because they resist bursting better than standard rubber hoses. They still need correct washers and careful fitting.

What to look for: Bulging rubber hoses, old cracked hoses, damp hose ends or hoses crushed behind cabinets.
Helpful hint: Replace tired hoses before they fail; a burst inlet hose can release water very quickly.

Backflow control

High-loop and siphon prevention

A high-loop route or correct standpipe layout helps prevent dirty water, smells and backflow from entering the appliance hose. The hose should not be pushed too far down or left lying flat.

What to look for: Drain smell after washing, dirty water in the drum, sink water backing up or poor draining during spin.
Helpful hint: Send a photo of the hose route before moving the appliance so the waste path can be checked quickly.

Appliance setup

Transit bolt and vibration checks

Transit bolts must be removed before the first cycle and the appliance should be level on a sturdy surface. Poor levelling can make the machine walk, vibrate, loosen hoses and damage cupboards.

What to look for: Heavy vibration, machine walking across the floor, banging during spin or new-machine movement after first use.
Helpful hint: Keep the transit bolts in a safe place after removal in case the appliance must be moved later.

Testing

Fill and drain leak checks

The connection should be tested while the machine fills and drains. Fill faults and drain faults show up at different times, so both stages need attention before the appliance is pushed back.

What to look for: Leaks during fill, leaks during drain, vibration movement, damp around valves or discharge backing up into the sink.
Helpful hint: The first full cycle is the best time to spot a poor connection before it causes hidden damage.

Waste diagnosis

Gurgling sink and waste vent checks

A nearby sink that gurgles while the washing machine drains can indicate poor venting, a partially blocked trap, a restricted waste line or an appliance discharge route that needs adjustment.

What to look for: Gurgling sink sounds, slow sink drainage, trap smells or water rising in the basin during the machine drain cycle.
Helpful hint: Record a short video of the gurgling sound and sink behaviour before clearing anything; it helps identify whether the issue is airflow, blockage or hose routing.

Pipe route

Pipe length and 40 mm waste sizing

Pipe length matters because over-extended hoses can kink, vibrate loose or overload the appliance pump. When the machine is too far from the valve or waste point, the safer solution is usually to extend the fixed plumbing neatly instead of stretching loose hoses.

What to look for: Long loose hoses, extension couplers, hoses crossing cupboards, slow draining, or backups when the sink and washing machine discharge together.
Helpful hint: Standard single-machine waste routes are often 40 mm, while shared kitchen or scullery lines may need 50 mm capacity depending on the layout and discharge demand.

Flood control

Floor waste and flood management

Laundry rooms, sculleries and apartments benefit from a nearby floor drain, gully or correctly graded wet area so a burst hose or overflow has a safer place to go.

What to look for: No floor waste nearby, cabinets sitting directly on the floor, water marks on kickplates or washing machines installed in tight kitchen cupboards.
Helpful hint: Flood prevention is not only the hose; isolation access, hose condition, waste routing and nearby drainage all work together.

Washing Machine Connection FAQ

Questions customers ask before booking this service.

These answers focus on washing machine inlet valves, individual isolation taps, pipe length, standpipe height, anti-siphon drainage, waste sizing, trap spigots and flood-prevention checks. They are written for customers who are trying to understand whether the problem is the appliance, the fixed water point, the drain hose, the sink trap, the standpipe or the wider waste line. A washing machine can appear faulty when the real issue is a low drain entry, an airtight standpipe seal, a blocked trap spigot, an over-long hose, high municipal pressure, a stiff isolation valve or a shared waste route that cannot carry the drain cycle. The FAQ also helps customers prepare useful information before booking, such as whether the leak happens during filling or draining, whether the sink gurgles, whether a new machine still has transit bolts fitted, and whether the appliance has enough space behind it for hoses and safe airflow. The aim is to reduce repeat visits, prevent avoidable flooding and guide each customer to the most relevant plumbing service.

What plumbing is needed for a washing machine?

A washing machine needs a safe water feed, an individual isolation valve, a suitable inlet hose, a standpipe or trap-spigot waste route, and enough space so hoses are not crushed, stretched or kinked behind the appliance.

Do washing machine water points follow SANS 10252 and need a CoC?

Where a new or altered fixed water point is installed, the water supply side should be planned with SANS 10252-1 principles in mind. The waste and drainage route should be checked against SANS 10252-2 principles, and the fixed plumbing points should be certified where a plumbing CoC is required.

How high should a washing machine standpipe be?

The final height should follow the appliance manual and site layout. Many washing machine standpipes are set around 600 mm to 900 mm, while some appliances allow a wider 400 mm to 1000 mm range.

What waste pipe size is used for a washing machine?

A single washing machine waste route is commonly planned around a 40 mm waste pipe. Shared kitchen, scullery or multiple-appliance lines may need 50 mm capacity to reduce backups when appliances and sinks discharge together.

How long can washing machine inlet and drain routes be?

The safest route is normally to keep hoses within the manufacturer-approved length and bring the fixed water and waste points closer where needed. Long loose hoses can kink, vibrate loose, drain slowly or overload the appliance pump.

Why is an air break needed at the standpipe?

The drain hose should not seal airtight inside the standpipe. An air break lets air enter the waste route and helps prevent vacuum-related siphoning, smells and poor discharge.

How far should the drain hose go into the waste pipe?

The hose should be secure but not pushed too far into the standpipe. Around 12 cm to 15 cm is a practical maximum on many setups, unless the appliance manual gives a different requirement.

Why does my washing machine drain while filling?

This often points to siphoning. The drain hose may be too low, pushed too far into the standpipe, sealed airtight or routed in a way that lets water pull out while the machine is filling.

What is a quarter-turn washing machine tap?

It is an isolation tap that opens and closes with a short quarter turn. It lets the homeowner quickly shut off the appliance water supply during a leak without shutting down the whole property.

Are braided stainless steel hoses better than rubber hoses?

Braided stainless steel hoses can be more resistant to bursts and pressure surges than basic rubber hoses. They still need correct washers, straight threads, no twisting and enough clearance behind the appliance.

Can a washing machine drain into a sink trap?

Yes, if the sink trap has a proper appliance spigot, the internal plug has been removed, the hose is clamped securely and the waste route can handle the discharge without gurgling or backing up.

Why does the sink gurgle when the washing machine drains?

Gurgling can point to poor waste venting, a restricted trap, a blocked waste line or appliance discharge that is too fast for the route. It should be checked before it becomes an overflow problem.

Why does my washing machine leak when filling?

Fill leaks often come from a worn hose washer, cross-threaded inlet connection, faulty isolation tap, cracked hose, pressure surge or hose strain behind the appliance.

Must transit bolts be removed before use?

Yes. New machines usually have 3 to 5 transit bolts or shipping brackets that must be removed before the first cycle. Leaving them in can damage the drum, bearings and cabinet and may affect the warranty.

Do you test the washing machine after connection?

Yes. The connection should be checked during fill, spin and drain stages so inlet leaks, discharge leaks, siphoning, vibration and waste backups can be found before the machine is pushed fully back.